Quellen: Internet-Bildersuche
English Version
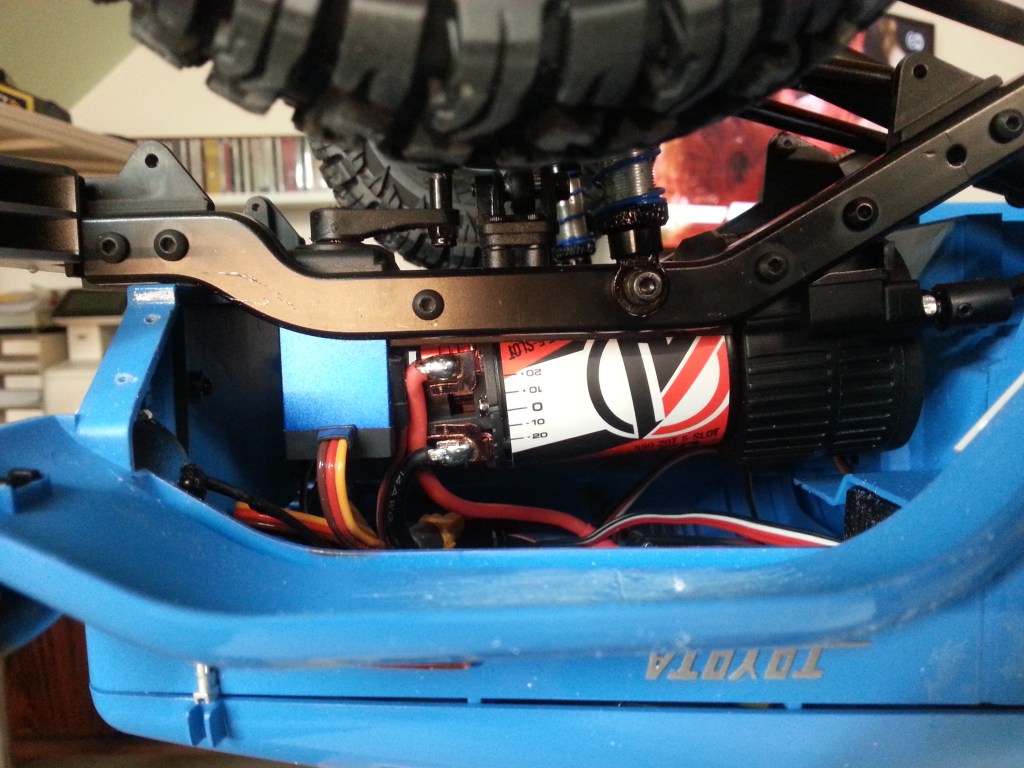
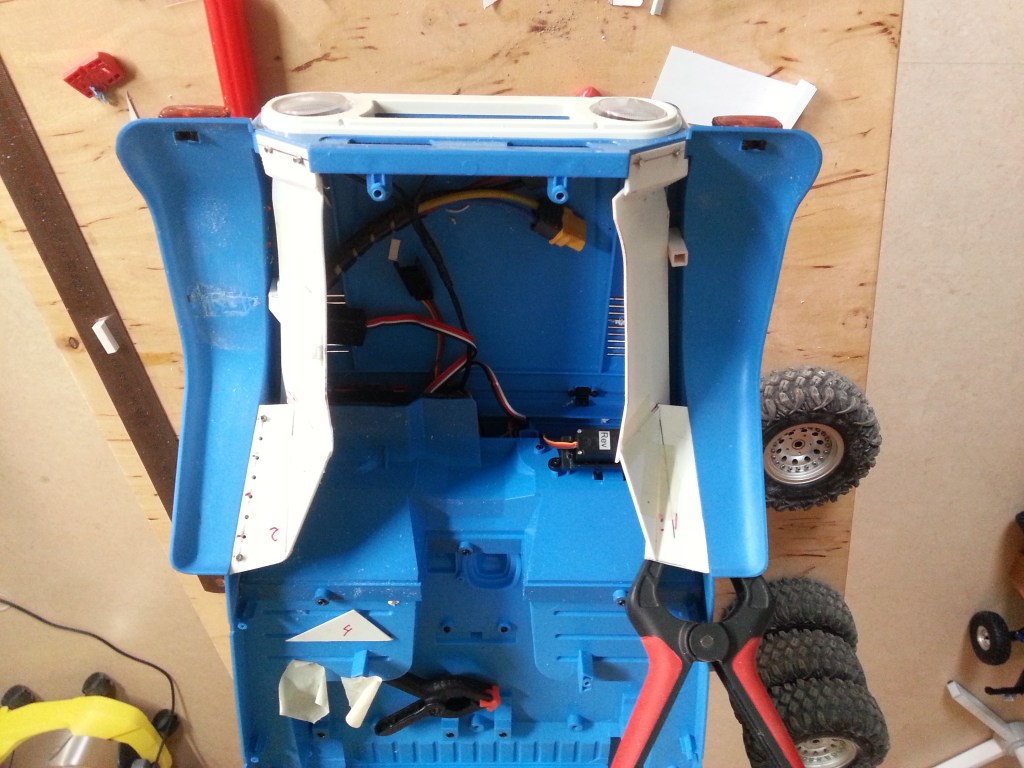
Die erste größere Baumaßnahme hat begonnen. Bisher konnte man aus der seitlichen Perspektive den Motor sehen. Etwas was in der Realität eher nicht der Fall ist. Eine Blechwand zum Motorraum würde diesen Blick verhindern. Die Trennwand ist ein Teil des Innenkotflügels und fehlt vorne am FMS Toyota komplett.
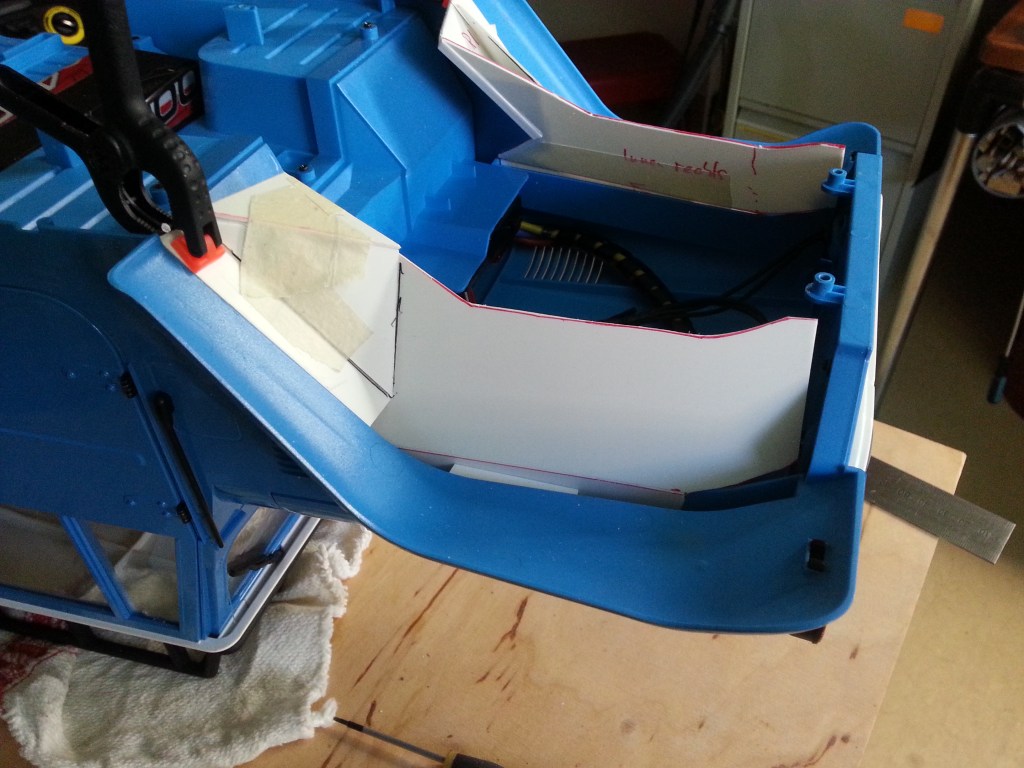
Um diesem Manko abzuhelfen, waren viele kleine Teile erforderlich. Mit einer Skizze und Messen fing alles an. Hier die Bilddokumentation der ersten Bauteile. Eine Trennwand, die in einem Spalt der Karosserie fixiert und abgekantet wurden. In einem Winkel von ca. 151° neigt sich die Trennwand Richtung Rahmen. Kleine 4-Kant-Profile klemmen das Teil bis auf weiteres fest.
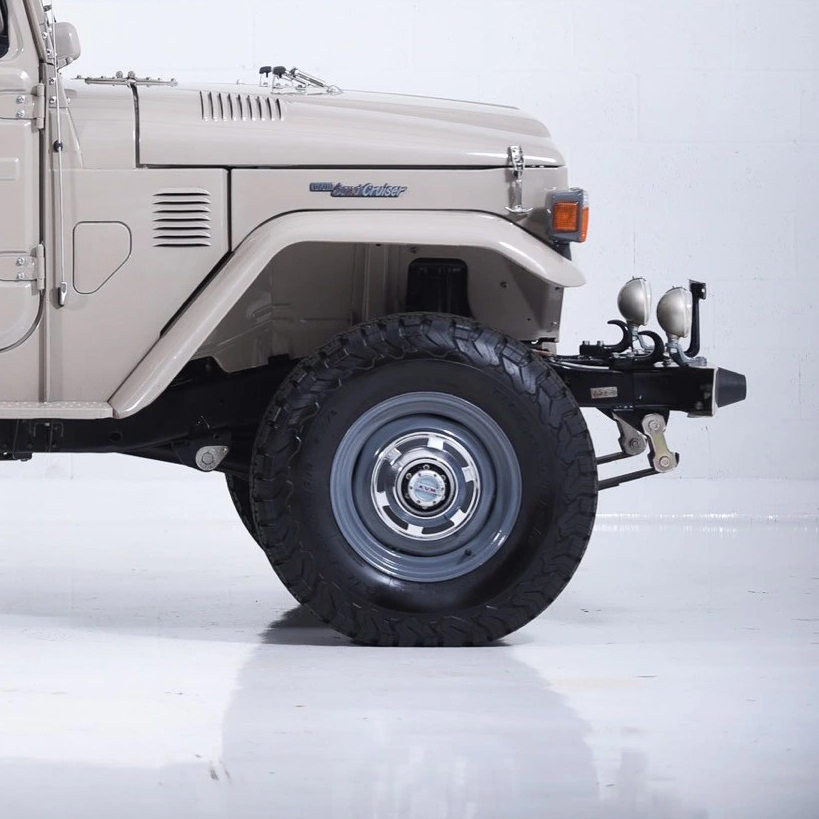
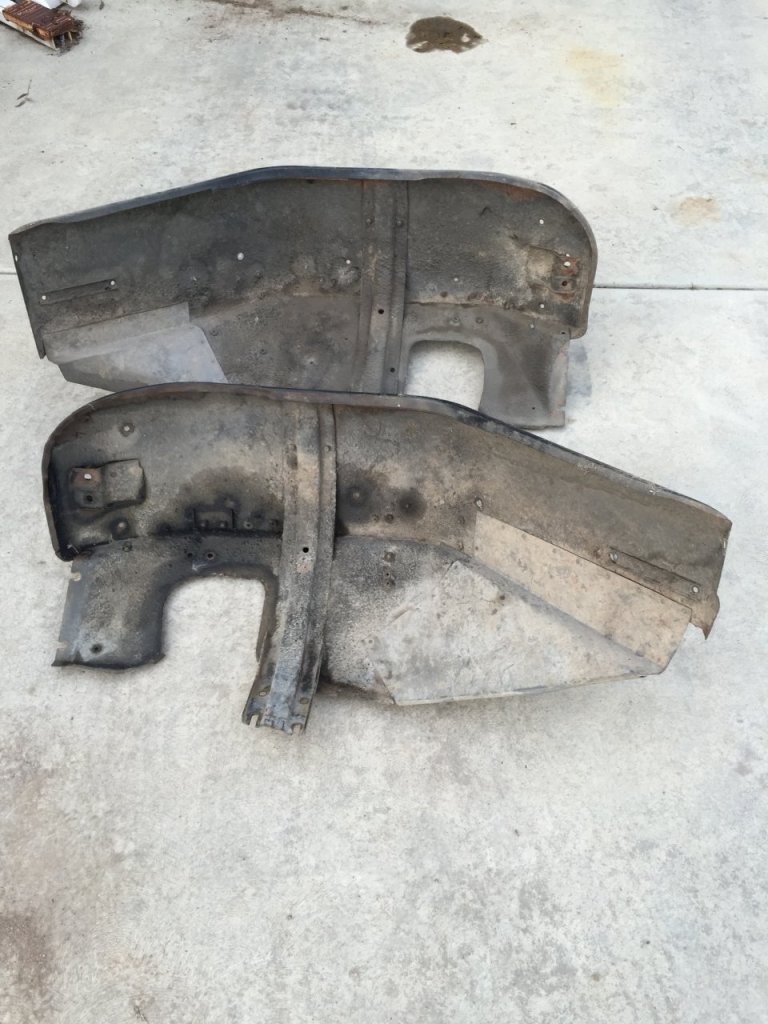
Zum besseren Verständnis zwei Bilder des Originals. Einmal von innen und rechts die Außenansicht. Die Außenansicht kann von Modellreihe zu Modellreihe leicht variieren.

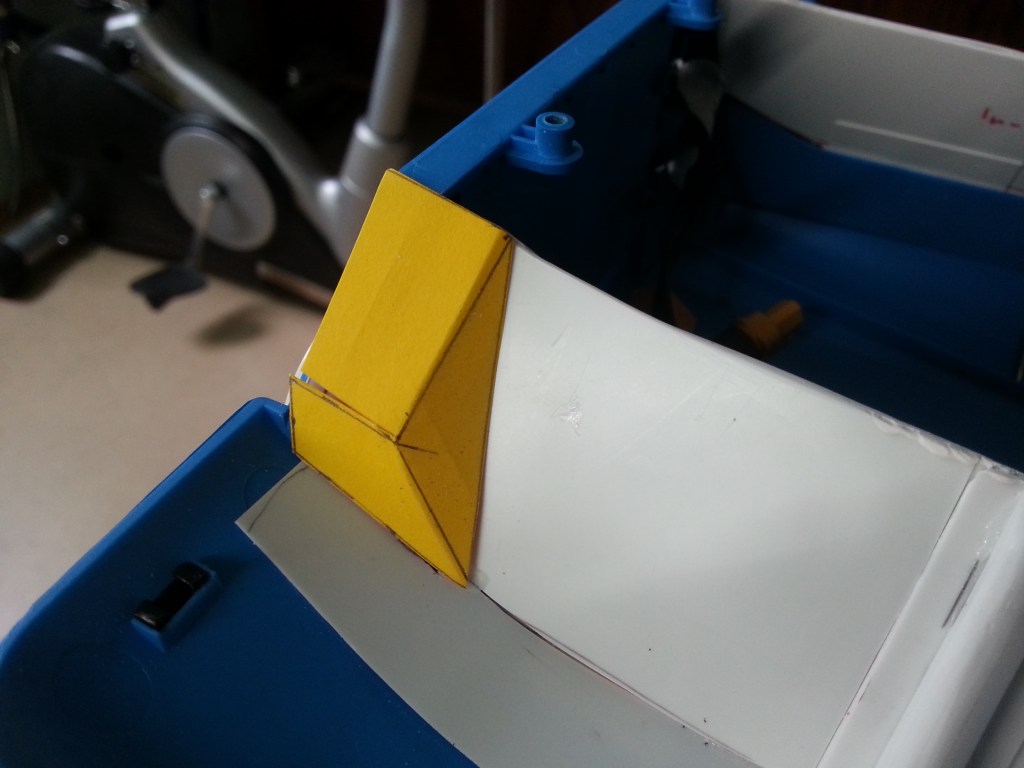
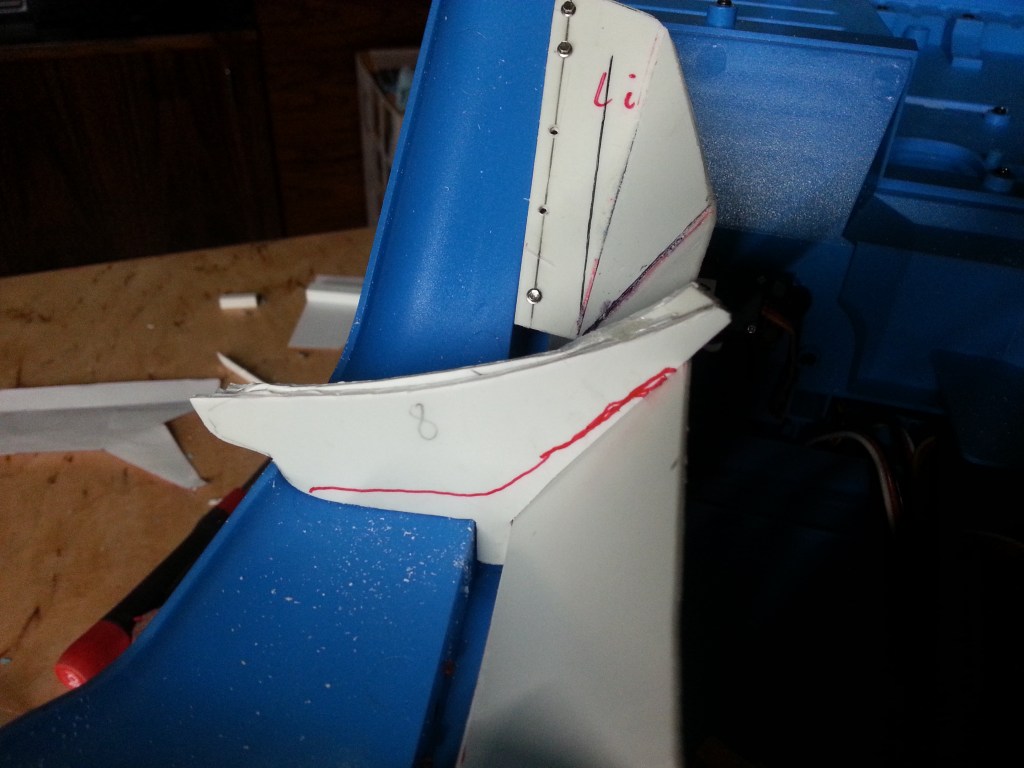
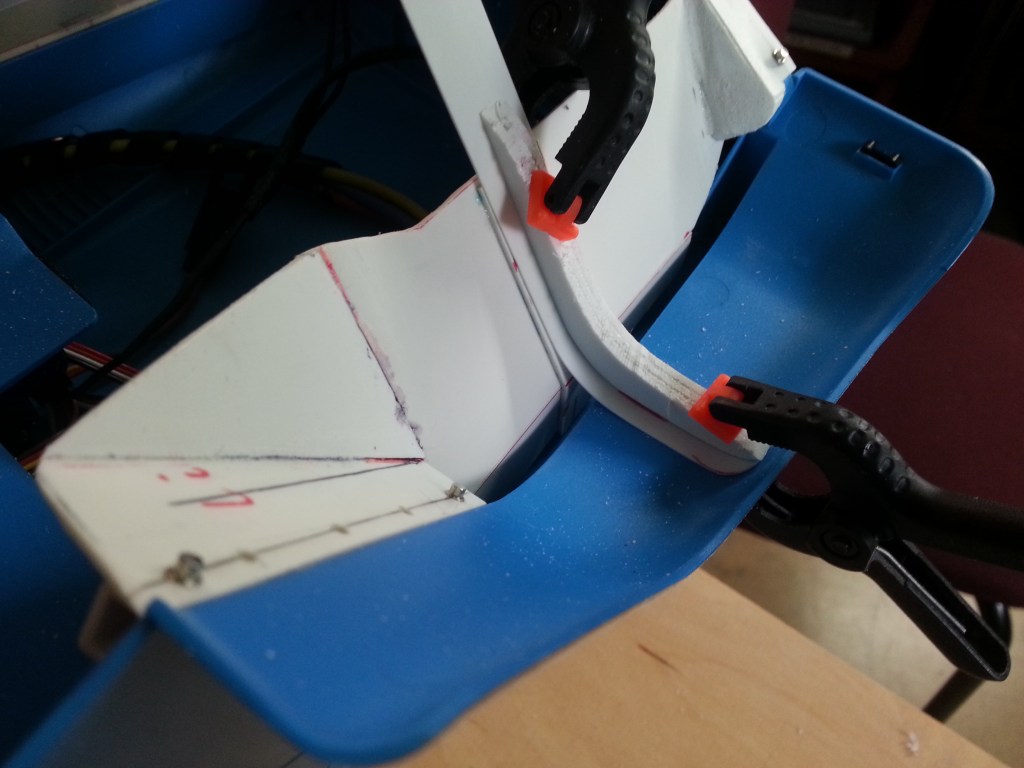
Der hintere Abschluss besteht aus zwei Teilen. Die Rückwand zwischen Kotflügel und der Trennwand zum Motor. Das aufgesetzte Dreieck ist der eigentliche innere Abschluss und wird mit der Trennwand und dem hinteren Abschluss verklebt.
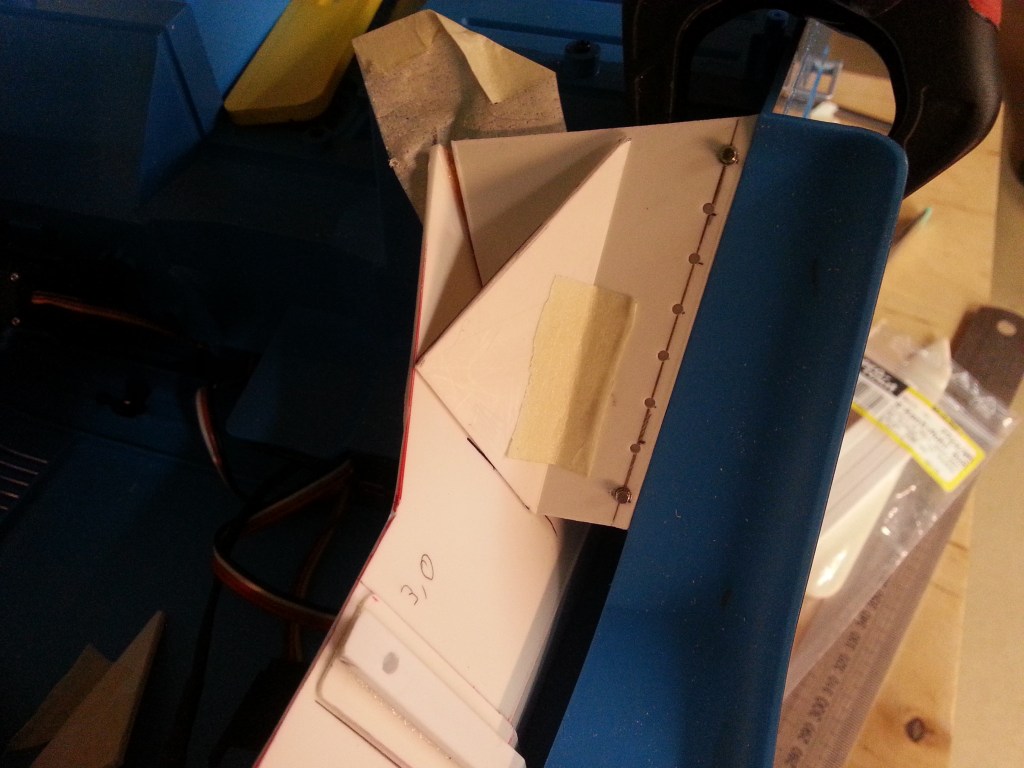
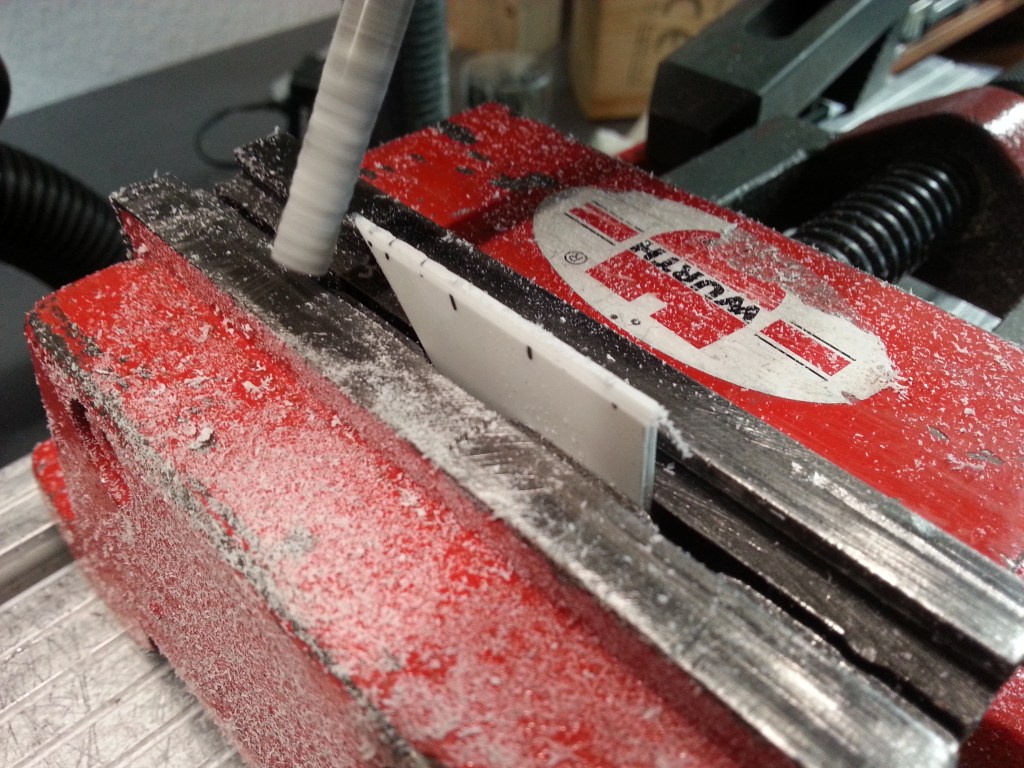
Zuvor gab es auf dem Koordinatentisch zwei Fräskanten, um die Klebestelle maximal zu vergrößern.
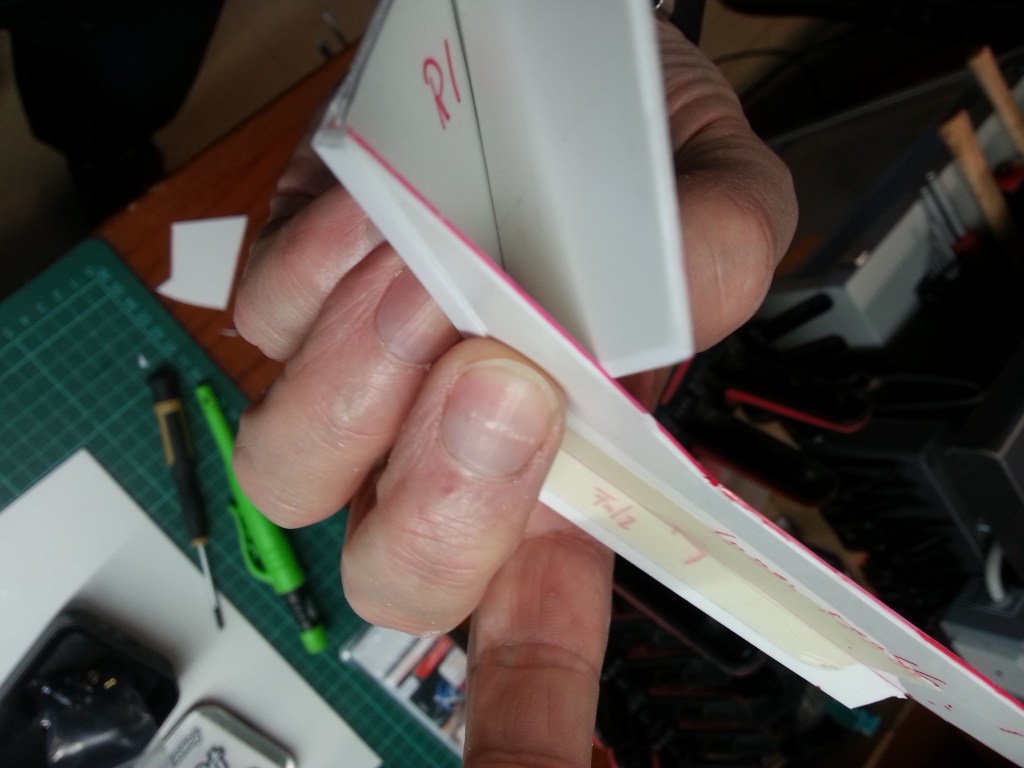
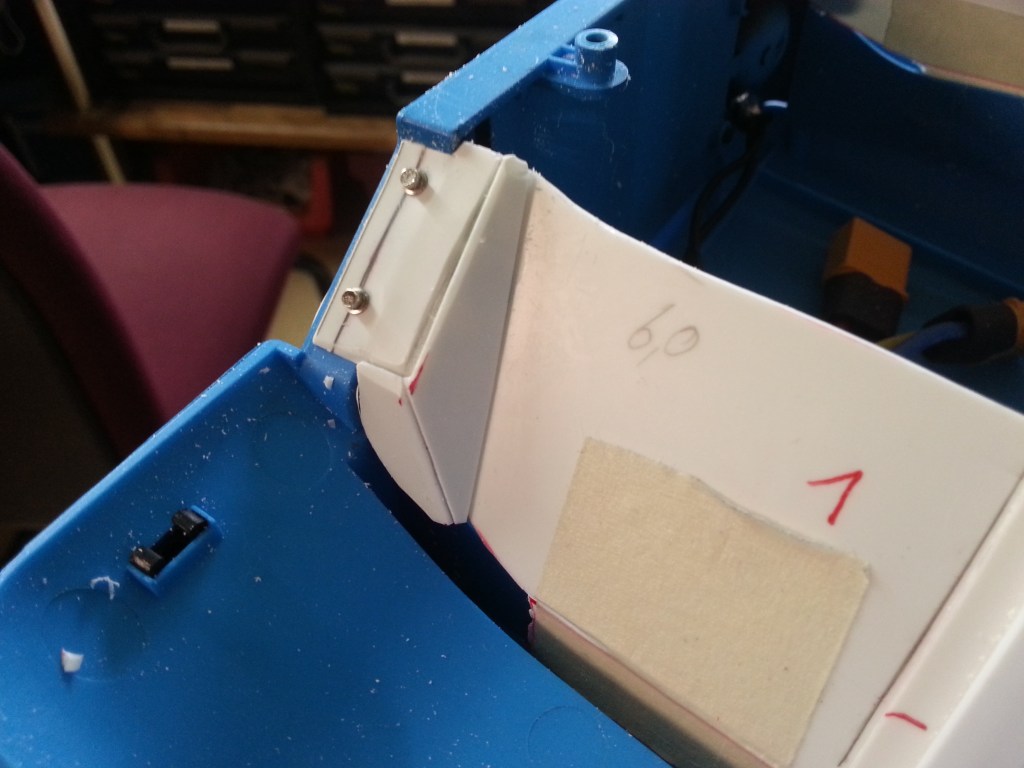
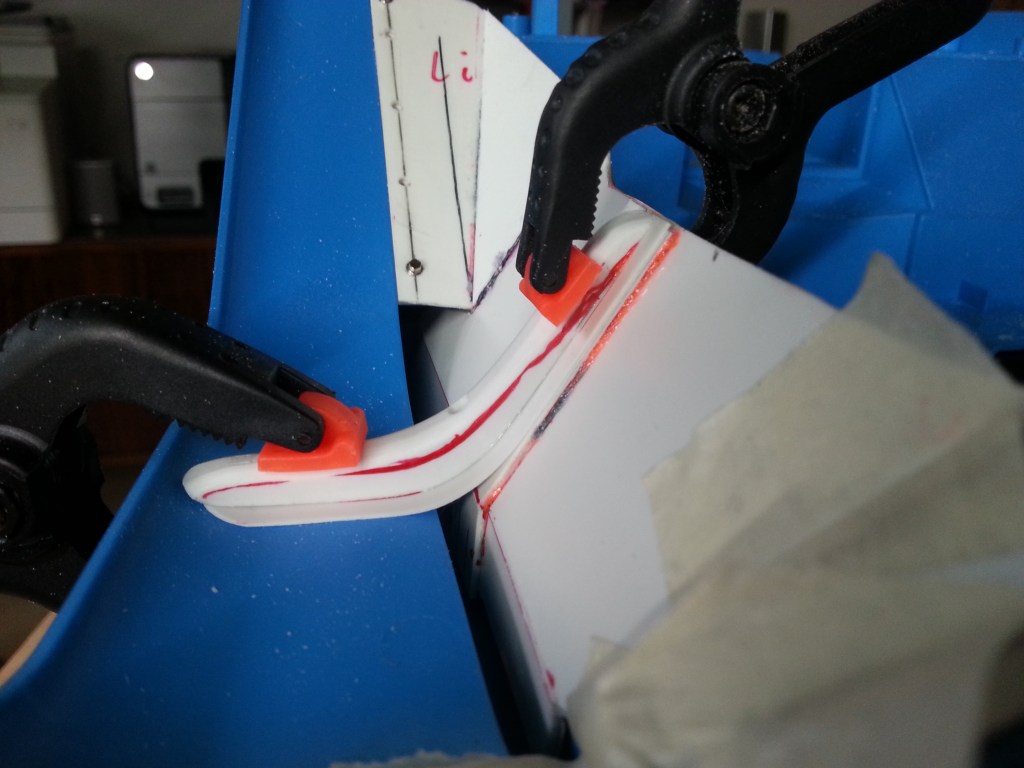
Entlang des Dreiecks wurden schließlich dessen Umrandung angezeichnet und das überschüssige Material abgetrennt. Ohne die stabile Ecke hätte das viel mehr Arbeit bei der Erstellung des Dreieckes gemacht. Hier wurde nicht konstruiert, sondern am Modell gebaut. Zur Befestigung an der Karosserie-Innenseite, habe ich zuvor ein 4-kant-Profil 6,0 mm angeklebt und gebohrt. Dieser Innenkotflügel ergibt ein eigenständiges Bauteil, dass später nur mit der Karosserie verschraubt wird. Fertig verklebt sieht es dann so aus.

Auch vorne ging es weiter mit Teil 4 und 5. Einem angepassten Kunststoffblock und einer angeklebten Haltenase für die vordere Befestigung.

Aus Karton wurde ein Bauteil zugeschnitten…
Das daraus entstandene Kunststoff-Bauteil wurde an den Falzkanten eingeritzt und als optischer Abschluss auf den Block geklebt. Mit einem inneren Verstärkungsrand, zur Verklebung mit der Innenwand, wäre der Bau des vorher beschriebenen Kunststoffblockes vielleicht sogar entbehrlich gewesen.
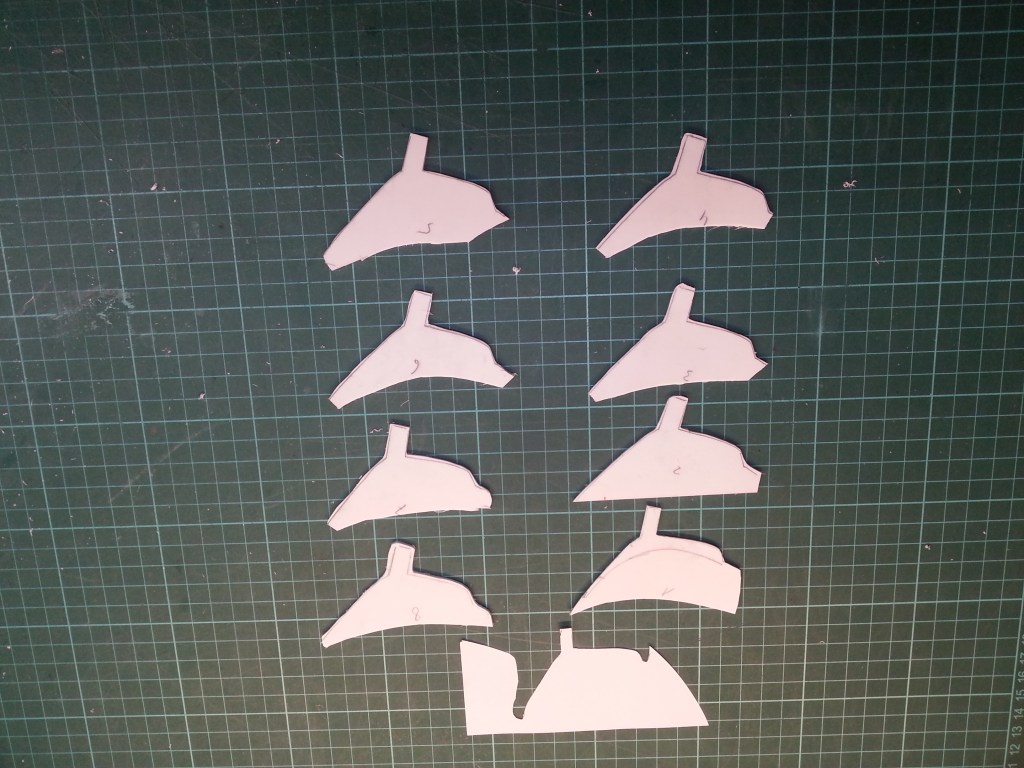
So sehen die Bautelle dann beidseitig aus…
Beim Original FJ ist der Kotflügel ein eigenes Bauteil und von außen aufgeschraubt. So sieht dieses Teil aus. Ein Profil, an die Kontur angepasst wird u.a. am Rahmen verschraubt. Das ist natürlich ein augenfälliges Teil und musste unbedingt auch an meine FJ.
Ein Abtaster für das erste Papierprofil…

… und die daraus entstandenen 2 mm PS-Plattenausschnitte. Je 3 Lagen wurden miteinander verklebt.
Mit diesem Teil begann die Schleiforgie. Von ziemlich groß, damit es überhaupt festgehalten und bearbeitet werden konnte…
… zu einem sehr kleinen Teil. Unterlegt auch schon der „Blechstreifen“.
Nach noch mehr Schleiferei und Feinarbeit das Ergebnis.
Die verschiedenen Ansichten und die Transformation vom ursprünglichen Bauteil zum Endprodukt.
Sehr schön anzuschauen, aber noch längst nicht fertig…

Wird schnellstmöglich fortgesetzt…
English Version
How to build an inner fender yourself
Sources: Internet image search
The first major construction work has begun. Until now, you could see the engine from the side. Something that is not the case in reality. A sheet metal wall to the engine compartment would prevent this view. The partition is part of the inner fender and is completely missing at the front of the FMS Toyota.
Many small parts were required to remedy this shortcoming. It all started with a sketch and measurements. Here is the photo documentation of the first components. A partition wall, which was fixed and folded in a gap in the bodywork. The partition wall leans towards the frame at an angle of approx. 151°. Small square profiles clamp the part in place until further notice.
Two pictures of the original for a better understanding. One from the inside and on the right the outside view. The exterior view may vary slightly from model series to model series.

The rear end consists of two parts. The rear wall between the mudguard and the partition to the engine. The attached triangle is the actual inner closure and is glued to the partition wall and the rear closure.
There were previously two milled edges on the coordinate table to maximize the size of the gluing area.
Finally, the outline was drawn along the triangle and the excess material was cut off. Without the stable corner, this would have made creating the triangle much more work. Here, we did not design, but built on the model. To attach it to the inside of the body, I glued and drilled a 6.0 mm square profile beforehand. This inner fender is an independent component that is later only screwed to the body. Once glued, it looks like this.
We also continued with parts 4 and 5 at the front: an adapted plastic block and a glued-on retaining lug for the front attachment.
A component was cut out of cardboard…
The resulting plastic component was scored at the folded edges and glued to the block as a visual finish. With an inner reinforcing edge for gluing to the inner wall, the construction of the plastic block described above might even have been unnecessary.
This is what the components look like on both sides…
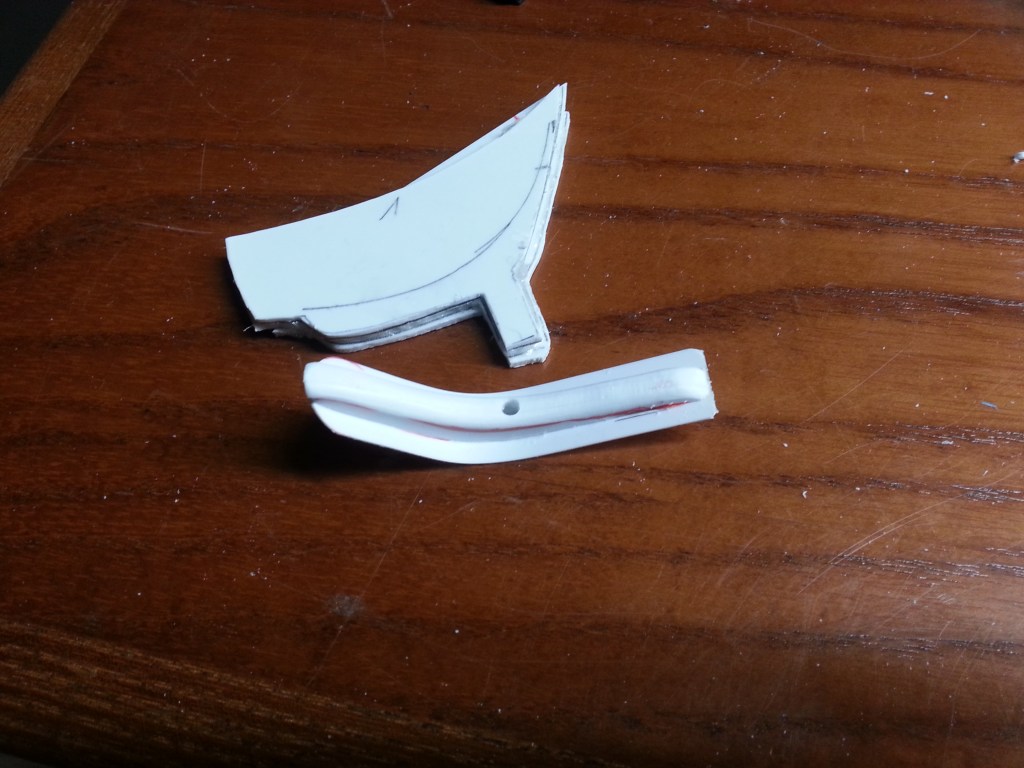
On the original FJ, the mudguard is a separate component and is screwed on from the outside. This is what this part looks like. A profile, adapted to the contour, is bolted to the frame, among other things. This is of course an eye-catching part and absolutely had to be on my FJ.
A scanner for the first paper profile…
… and the resulting 2 mm PS panel cut-outs. Three layers were glued together.
The sanding orgy began with this part. From quite large, so that it could be held and worked on at all…
… to a very small part. The „sheet metal strip“ is already underneath.
The result after even more sanding and precision work.
The different views and the transformation from the original component to the final product.
Very nice to look at, but still far from finished…
To be continued as soon as possible…
Translation, with the kind support of deepl.com
