English Version
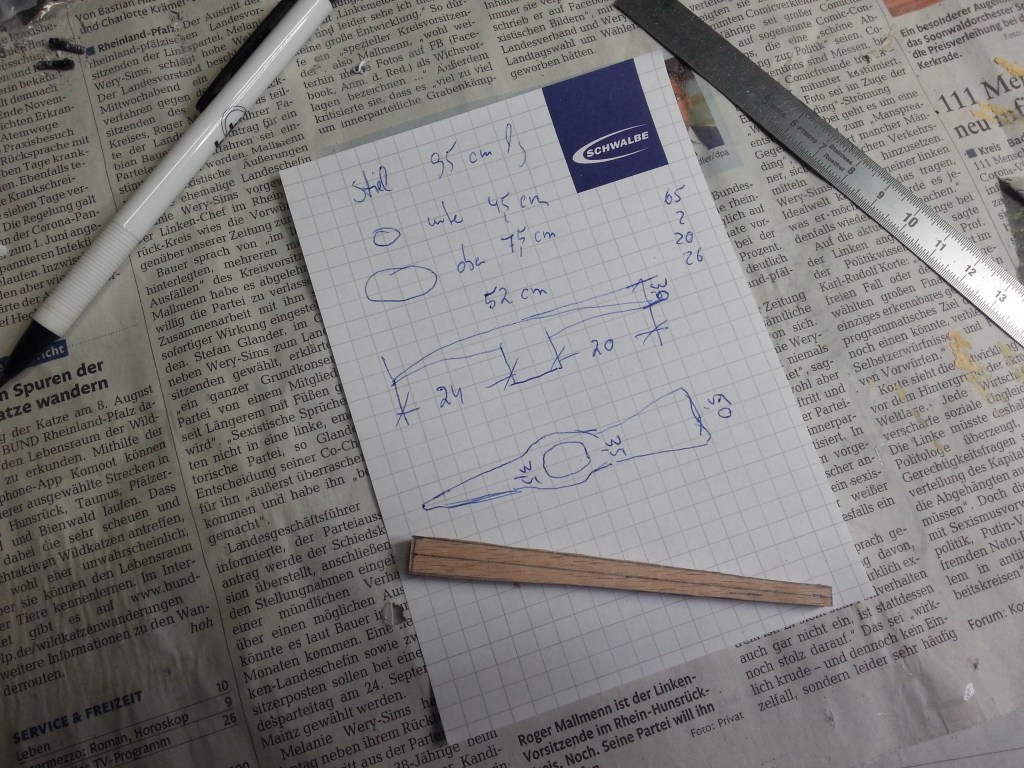
Heute nur eine kurze Einleitung, ich hatte die Baustelle ja schon im Schlusssatz der letzten Folge angekündigt. Etwas verrückt muss Mann aber schon sein und so ist es in der Tat. Mit dieser Skizze fing es diese Mal an. Den Stiel hatte ich da schon ausgesägt.
Schrittweise wurden die Kanten mit dem Dremel gebrochen und langsam oval geschliffen.
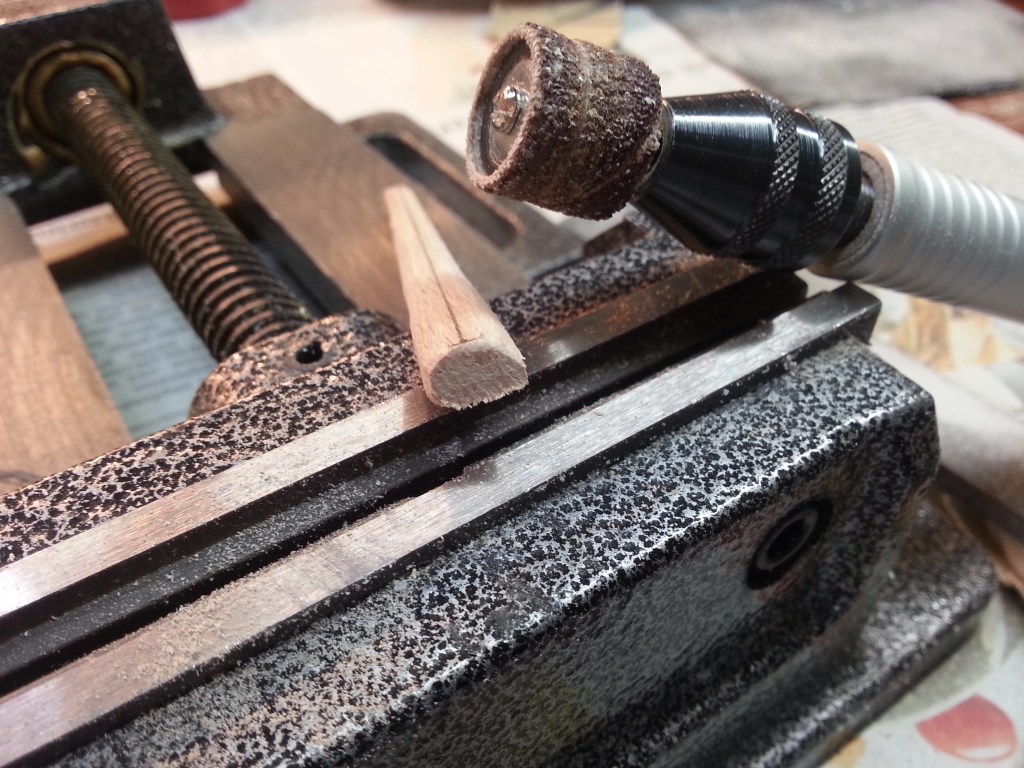
Nach langem Schleifvorgang, zuerst mit 80er Schmirgelpapier bis hin zum finalen 240er Schliff, wird das Ergebnis sichtbar.

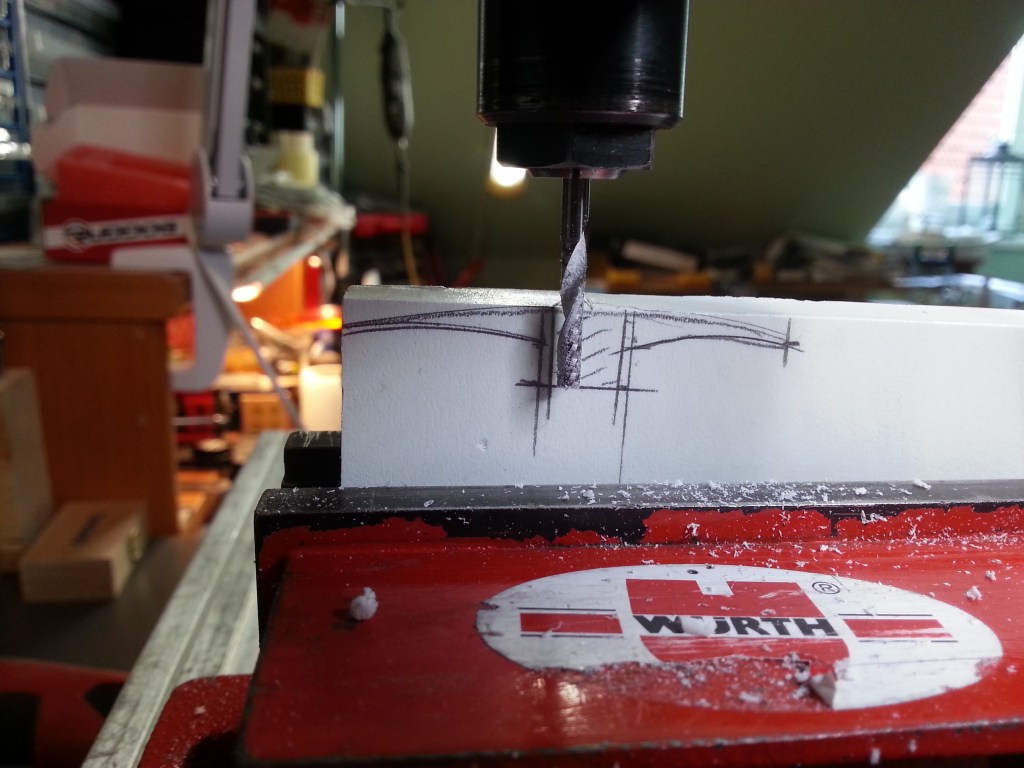
Bis hierhin leichtes Spiel, aber die nun kommende Steigung hat es in sich. Vorab aber wieder etwas auf Forex aufzeichnen.

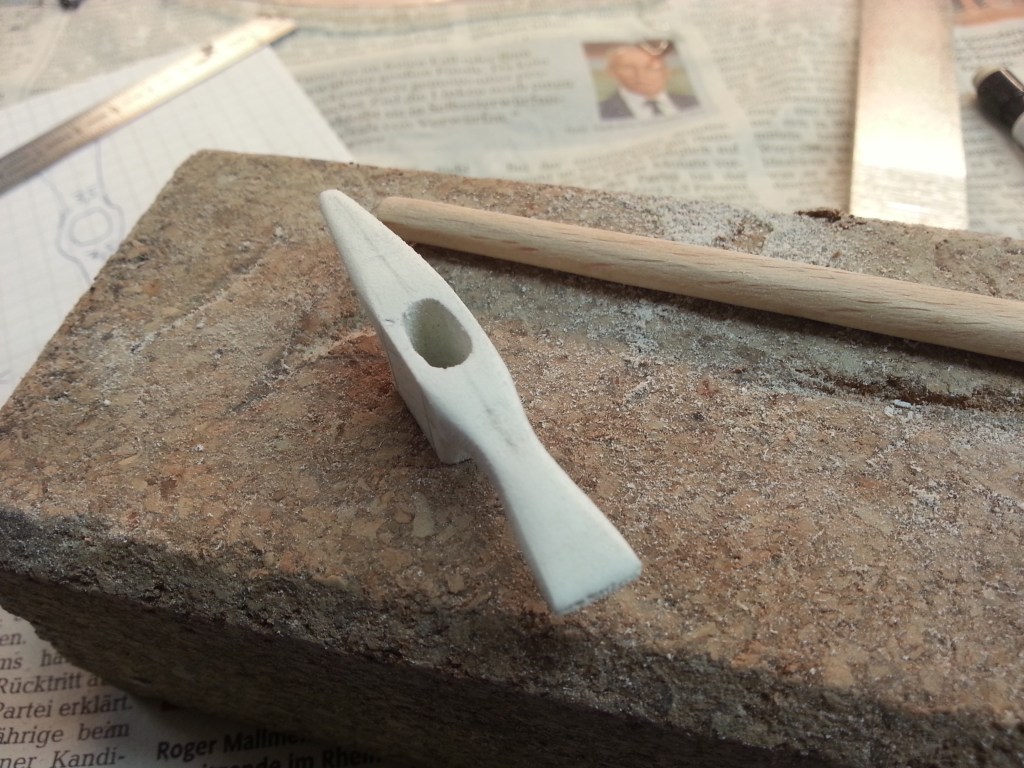
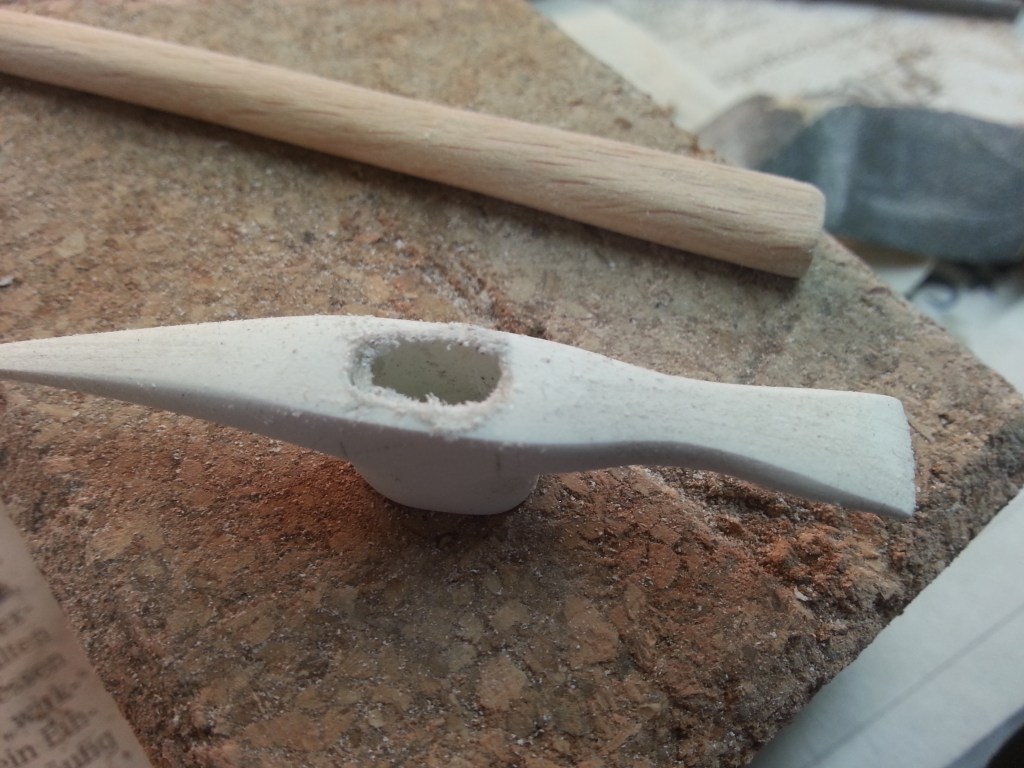
Das Bauteil etwas schräg einspannen, damit das zu bohrende Langloch auch den Winkel des Stiels bekommt.
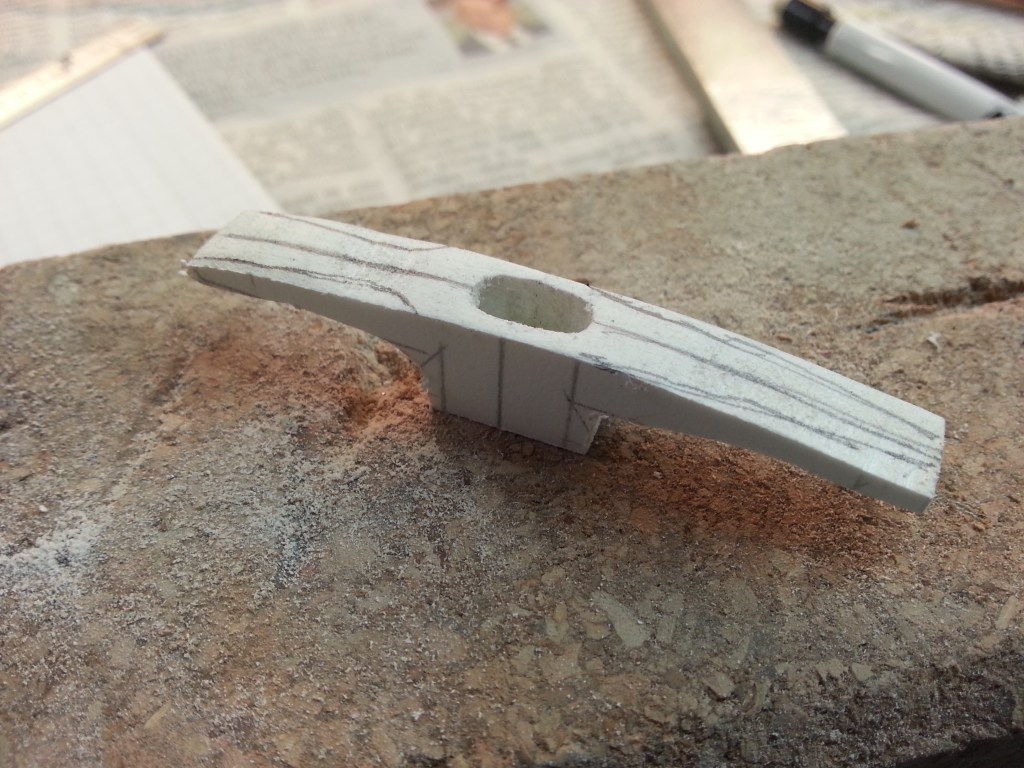
Die ersten Anpassungsversuche für das Stielauge machen schon einmal Hoffnung.

Ab jetzt geht es um Alles oder Nichts…

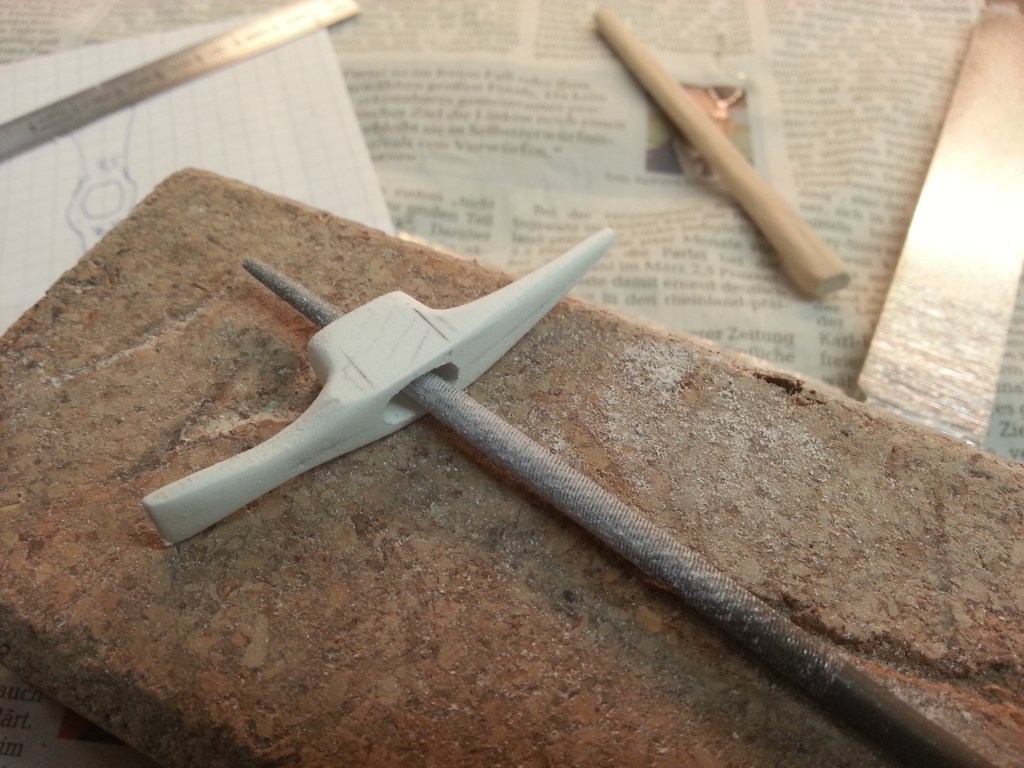
Nach guten zwei Stunden, schleife ich nur noch um die letzten Konturen zu formen. Je filigraner das gelingt, umso realistischer wird das Ergebnis. Ein guter Schlüsselfeilensatz und die noch weich, fließend geführt, runden das Bild im wahrsten Sinne des Wortes. Das zu beschreiben ist zwar möglich aber irgendwie auch wenig zielführend. Bei so kleinen Teilen einfach immer auf festen Sitz in den Fingern achten, eine gute Unterlage sicherstellen und sehr viel Geduld aufbringen. Nur kleine Arbeitsschritte ausführen und sofort das Ergebnis kontrollieren. Bei Bedarf das Bauteil umsetzen, um eine gleichmäßige Optik zu erzielen. Vor jedem Arbeitsschritt gut überlegen was zu tun.
Dann kann das Ergebnis auch so aussehen.
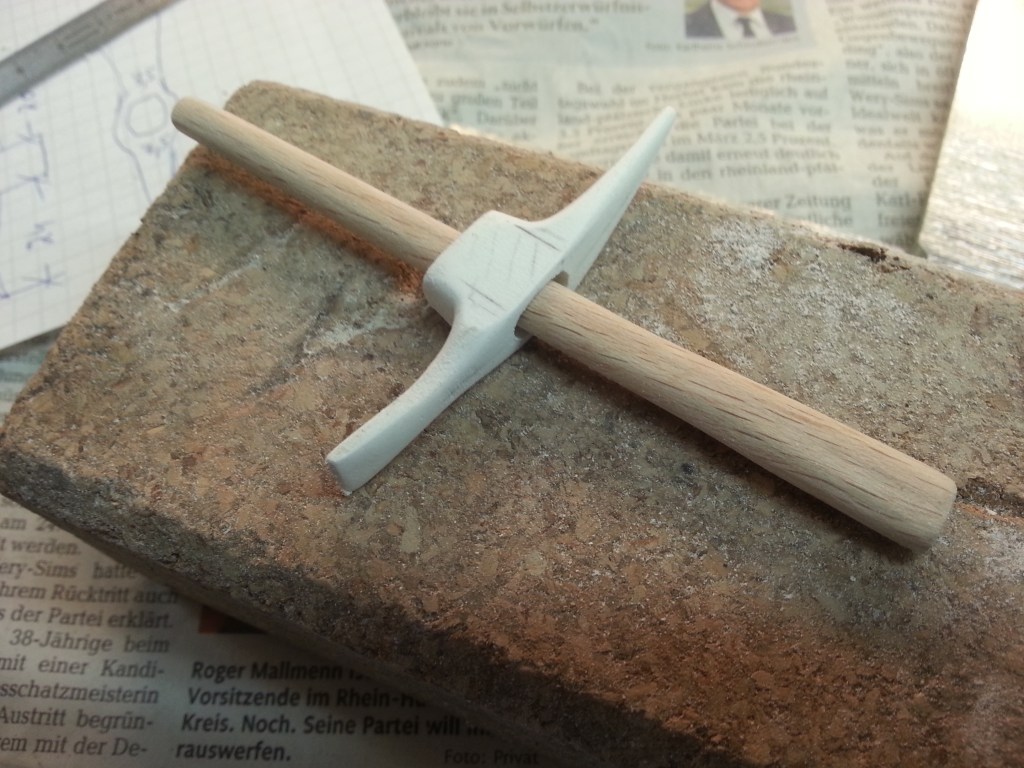
Auch hier brauchte es keine perfekte Oberfläche. Stahloberflächen bei Werkzeugen sind nicht so glatt. Die beiden Enden wurden aber feingeschliffen!
Zum Schluss musste ich aber noch einen Fehler beseitigen. Das obere Auge war minimal zu groß gefeilt und der Stiel wackelte. Mein Lösungsversuch, Kleber und Kunststoffstaub auftragen, um das Loch zu verkleinern, hatte funktioniert. 😯
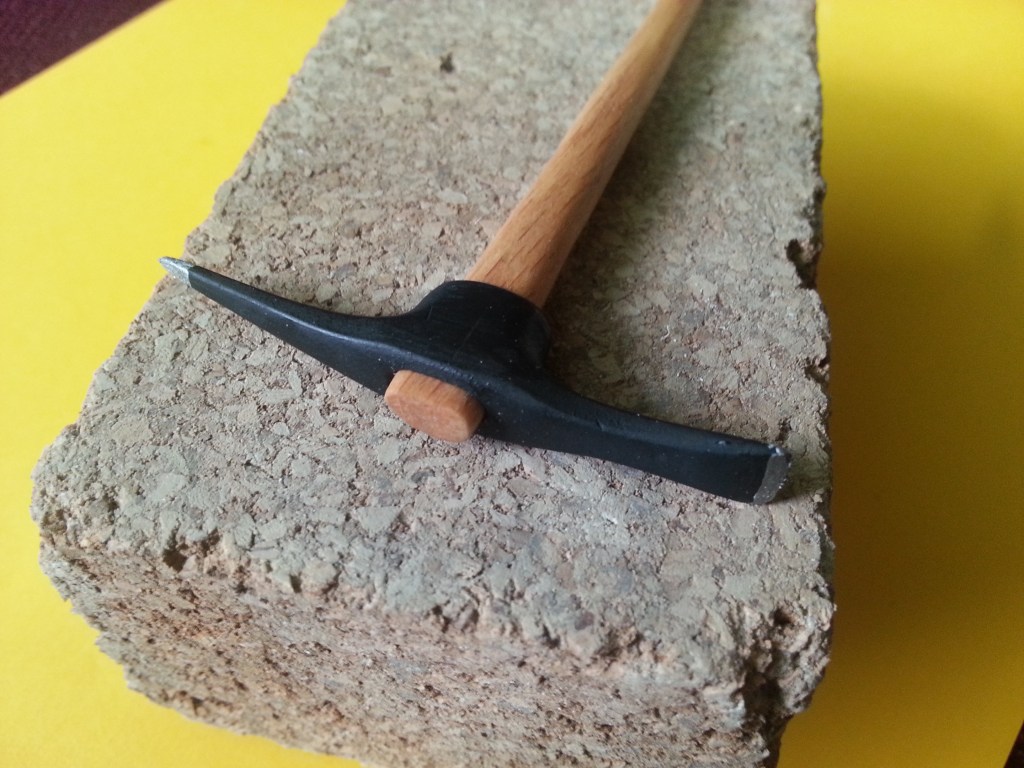
Mit geöltem Griff und Farbe, dass Gesamtergebnis. Ich bin sehr glücklich! 😍

Wird schnellstmöglich fortgesetzt…
English Version
Manufacture of loads and tools, Part 5-Pickaxe
Only a short introduction today, I had already announced the construction site in the final sentence of the last episode. But you have to be a bit crazy, and that’s how it is. This time it started with this sketch. I had already sawn out the stem.
Step by step the edges were broken with the Dremel and slowly sanded oval.
After a long sanding process, first with 80-grit sandpaper up to the final 240-grit sanding, the result becomes visible.
Up to this point it was easy, but the next slope is a real challenge. But first of all, we need to record something on Forex again.
Clamp the part a little at an angle so that the oblong hole to be drilled also gets the angle of the stem.
The first attempts at adjusting the stem eye give us hope.
From now on it’s all or nothing…
After a good two hours, I only sand to shape the last contours. The more filigree this is, the more realistic the result. A good set of key files and the still soft, flowing lines complete the picture in the truest sense of the word. It is possible to describe this, but somehow it is not very useful. With such small parts, always make sure that the fingers fit tightly, ensure a good base and have a lot of patience. Only carry out small steps and check the result immediately. If necessary, move the part to achieve an even look. Think carefully about what to do before each step.
Then the result can look like this.
Here, too, a perfect surface was not necessary. Steel surfaces on tools are not that smooth. But the two ends were finely ground!
At the end I had to remove one mistake. The upper eye was filed slightly too big and the handle wobbled. My attempt at a solution, applying glue and plastic dust to make the hole smaller, had worked. 😯
With oiled handle and paint that overall result. I am very happy! 😍

Will be continued as soon as possible…
Translation, with the kind support of deepl.com
